Ever wanted to run Kali Linux in Windows 10? Well, you can using Docker! Docker is a great way to run programs or even entire operating systems on different platforms. Using Docker you can even run Kali Linux on Windows 10!
But just because you can do something doesn’t mean that you should. Yes, it is cool to see Kali in a command prompt, but personally I think there are much easier ways to run Kali on a Windows platform.
With Docker, usually you just pull down your app and it works. In Windows, you need to enable Containers, then install Docker, then enable Hyper-V (which will disable your VMWare or VirtualBox VMs by the way) and then finally download Kali for Docker. Oh, and don’t forget to reboot, multiple times. When done you will have a minimal install of Kali, enjoy!
If you are new to Kali and want to run Kali in Windows 10, use VMWare or Virtualbox, and just download the VM version of Kali. You will be much happier with your life.
Okay, fine, I can see that you are determined to see this through, so let’s continue. Official instructions for installing the Kali Docker image can be found on the Kali website:
https://www.kali.org/news/official-kali-linux-docker-images/
Technet even has an article on it, which is helpful as well:
But you kind of need a mix of both and a few more steps to actually get it working.
Installing Docker
In Windows 10, open a command prompt
- Search for and run “optionalfeatures” as an administrator
- Click on “Containers” to add it:

When this is done:
- Surf to https://docs.docker.com/docker-for-windows/install/
- Select, download and install the “Stable Channel” Docker version

Once Docker is installed, it will tell you that it needs to close your active user and log back in. Don’t believe it, you actually need to reboot your system.
After Reboot:
- From the main menu, run “Docker for Windows” as administrator
- At the Hyper-V Feature not enabled, choose enable, note this breaks Virtualbox
- Reboot again…
From the main menu start “Docker for Windows” again
- Wait until it is ready, this can take a few minutes
- Now open a system level command prompt
Installing Kali
At the command prompt:
- Enter, “docker pull kalilinux/kali-linux-docker”

This will download the Kali Linux Docker image.
- When finished enter, “docker run -t -i kalilinux/kali-linux-docker /bin/bash”
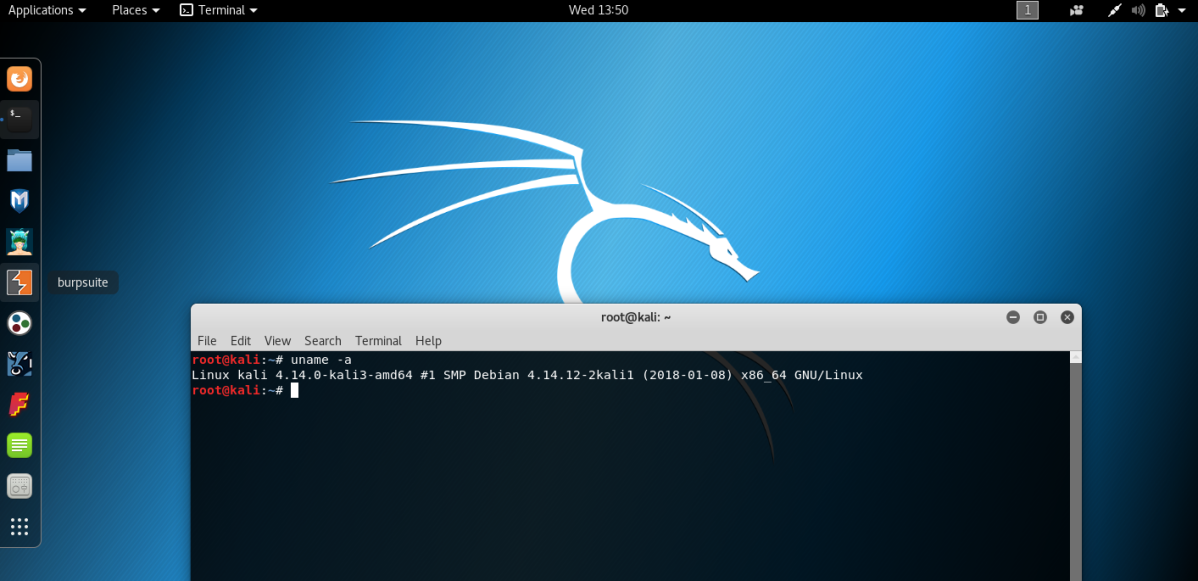
You will then be greeted with a Kali root prompt. You now have a minimal install of Kali Linux! Several programs do work at this point, like nmap and some of the other basic Kali tools. Metasploit is not installed by default and you need to install it if you need it.
Update the system:
- apt-get update
- apt-get upgrade
This will take a while. When done, install Metasploit:
- apt install metasploit-framework ruby
When it is finished, you need to start and initialize the database:
- service postgresql start
- msfdb init
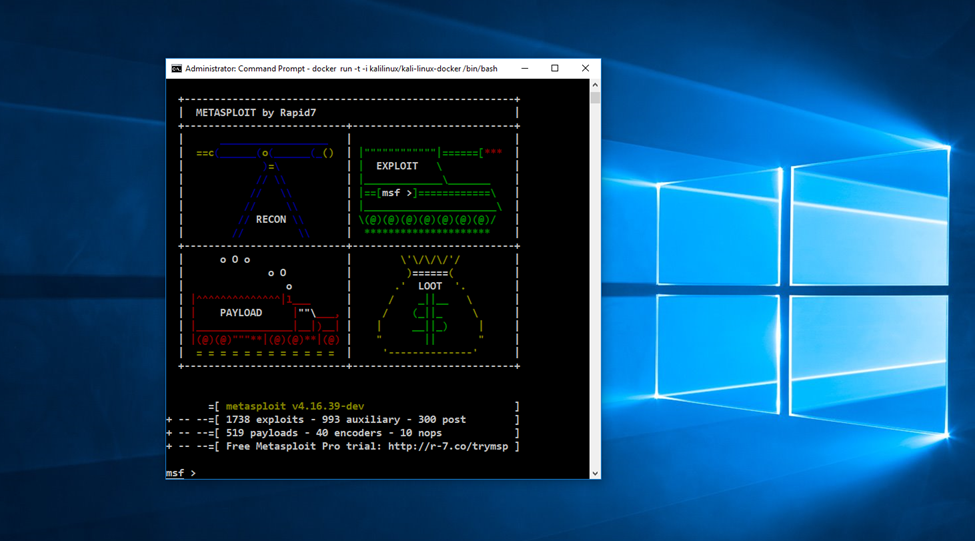
- And lastly, “msfconsole”
And Metasploit starts:

At this point you can install any of the Kali tool metapackages if you wish, or just play around with it as is. Just a note, ifconfig isn’t installed by default. You need to use the newer “ip address” or “ip a” commands, or you can just install “net-tools”.
Uninstalling it
Done already? I had it on my Windows 10 system about as long as it took to install it. Don’t get me wrong, this is really cool. But like I mentioned earlier, this is much easier to do in Windows using VMWare, or VirtualBox and the corresponding Kali VM. Though some might prefer using the Windows Subsystem for Linux and not have the Virtual machine overhead.
Here is how you uninstall it:
- In Optional Features, uncheck “Containers”
- Uninstall Docker
- Don’t forget to also remove Hyper-V or your other virtual machine software will not work.
Kali for Docker is a great idea, I do really like it, but my personal preference is just not for the Windows platform. But don’t take my word for it, you might like it, if interested try it and see what you think.